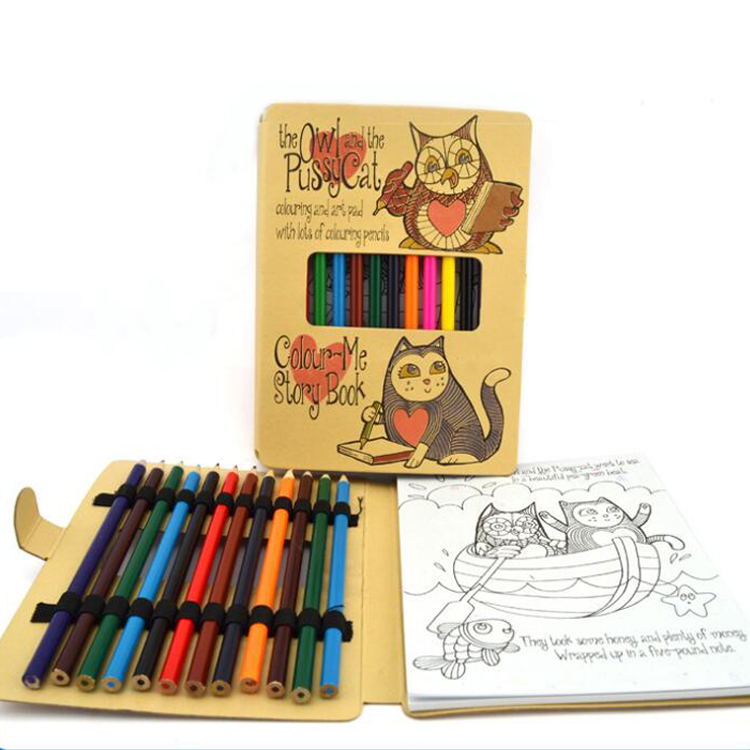
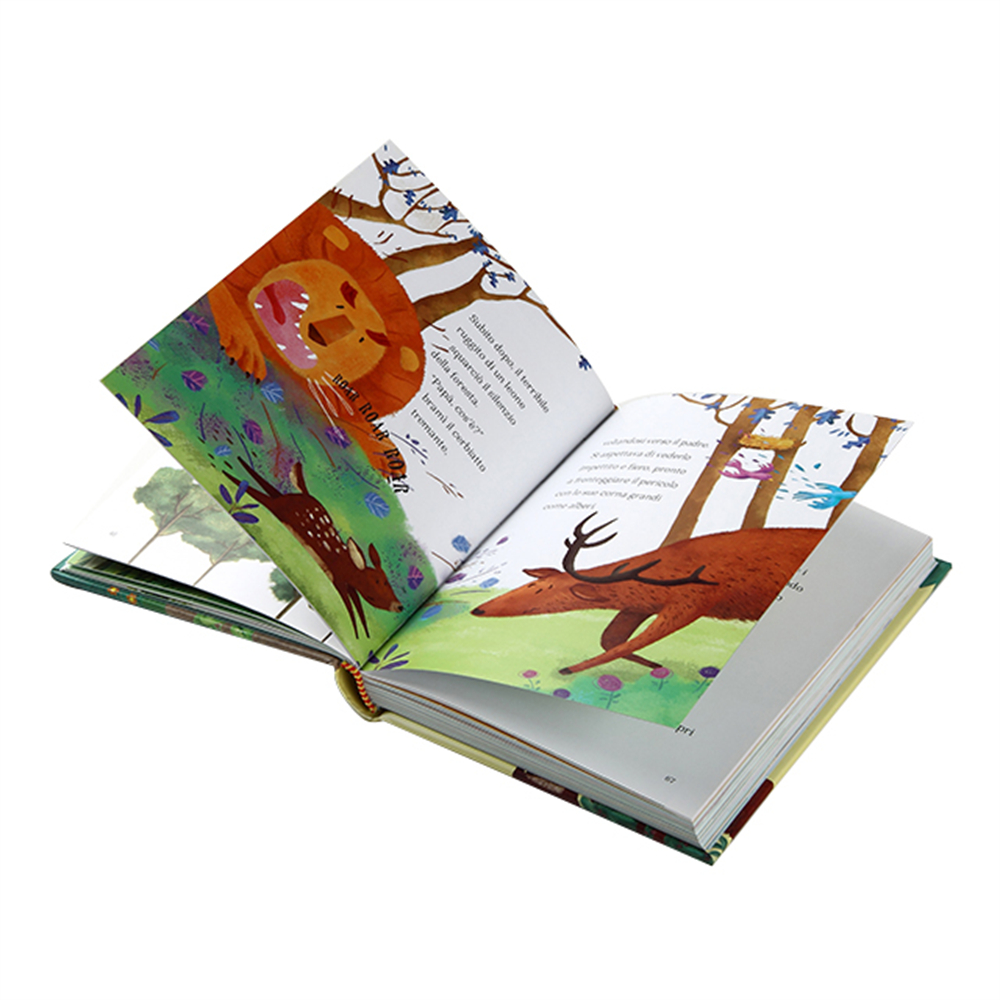
Children's Books, Inc. Pioneers a New Era of Literary Entertainment for KidsChildren's Books, Inc. is a leading publisher of children's literature, dedicated to creating engaging and educational content for young readers. With a focus on promoting literacy and a love of reading, Children's Books, Inc. has become a household name in the world of children's entertainment. From beloved classics to innovative new titles, the company's extensive catalog offers something for every young reader.Founded in 1995, Children's Books, Inc. has been at the forefront of the children's publishing industry for over two decades. The company's commitment to quality and creativity has earned them a reputation as a trusted source for children's literature. With a team of talented authors, illustrators, and editors, Children's Books, Inc. continues to produce high-quality books that captivate and inspire young readers.In addition to its print publications, Children's Books, Inc. has also expanded into digital media, offering e-books, interactive apps, and online resources for children and families. By embracing new technologies, the company aims to reach a wider audience and provide children with innovative ways to engage with literature.One of Children's Books, Inc.'s most notable achievements is its dedication to promoting diversity and inclusion in children's literature. The company is committed to representing a wide range of perspectives and experiences in its books, ensuring that all children can see themselves reflected in the stories they read. With a focus on inclusivity and representation, Children's Books, Inc. has set a new standard for diversity in children's publishing.Recently, Children's Books, Inc. announced the launch of a groundbreaking new series that is set to revolutionize the way children interact with books. The series, titled "Adventure Tales," combines traditional print books with augmented reality technology to create an immersive reading experience for young audiences. Through the use of a special app, readers can bring the characters and settings of the books to life, allowing them to interact with the story in a whole new way."We are thrilled to introduce 'Adventure Tales' to young readers everywhere," said Emily Smith, CEO of Children's Books, Inc. "This series represents an exciting new chapter in children's literature, and we believe it will inspire a love of reading in a whole new generation of children."The first book in the "Adventure Tales" series, titled "The Secret of the Lost Kingdom," follows the adventures of a group of young explorers as they embark on a quest to uncover a hidden treasure. Through the use of augmented reality, readers can join the characters on their journey, solving puzzles and unraveling mysteries along the way.The innovative use of technology in "Adventure Tales" has garnered attention from both parents and educators, who see the series as a valuable tool for promoting literacy and engagement with reading. By blending the magic of storytelling with the excitement of interactive technology, Children's Books, Inc. has taken children's literature to a whole new level.With its continued dedication to excellence and innovation, Children's Books, Inc. is poised to remain a leader in the children's publishing industry for years to come. By embracing new technologies and promoting diversity in literature, the company has proven its commitment to providing children with the best possible reading experiences.As "Adventure Tales" prepares to make its debut, Children's Books, Inc. invites readers of all ages to join in the excitement and embark on a literary adventure like no other. With the promise of more groundbreaking projects on the horizon, the company's legacy of excellence in children's literature is set to continue for generations to come.
Read More